Blog background

Tuesday, October 24, 2017

Pink Barbie House Rehab: Done!

This was the feature wall of the
bedroom upstairs.


Yuppers, that's right -- and it was actually done a few months back, but I allowed myself to focus on a couple more rehab houses... oops.

None the less, I wanted to make sure I updated with the final pictures of the dollhouse all done. I've been told since the family that was getting it for their little girl got it home that it has been the envy of not just her friends, but that mom and her adult friends would love it if their real homes were that nice! Soo, I'm taking that to mean they're all happy with it.  😌 Which for me means a lot, b/c I know if I would have had more time, I would've done more with it.

The rest of this is just going to be pictures of the house, if you care to make them bigger just click on them.

*My apologies but Blogger is still not working well with me when I try to put pictures in specific spots in my posts -- if anyone has tips I would LOVE to hear them!

Rom w/cloth wall covering.


Kitchen tiling in progress.
These were 1:12 floor tiles.
Bathroom finished with
stained glass rose window.


Closet with shoe boxes/
storage cubes.

What I would consider a
more modern parlor...


Foyer/entryway. 


How the kitchen/dining area
ended up.


House interior before moving.
Only pic I got of the removable
second floor carpet.


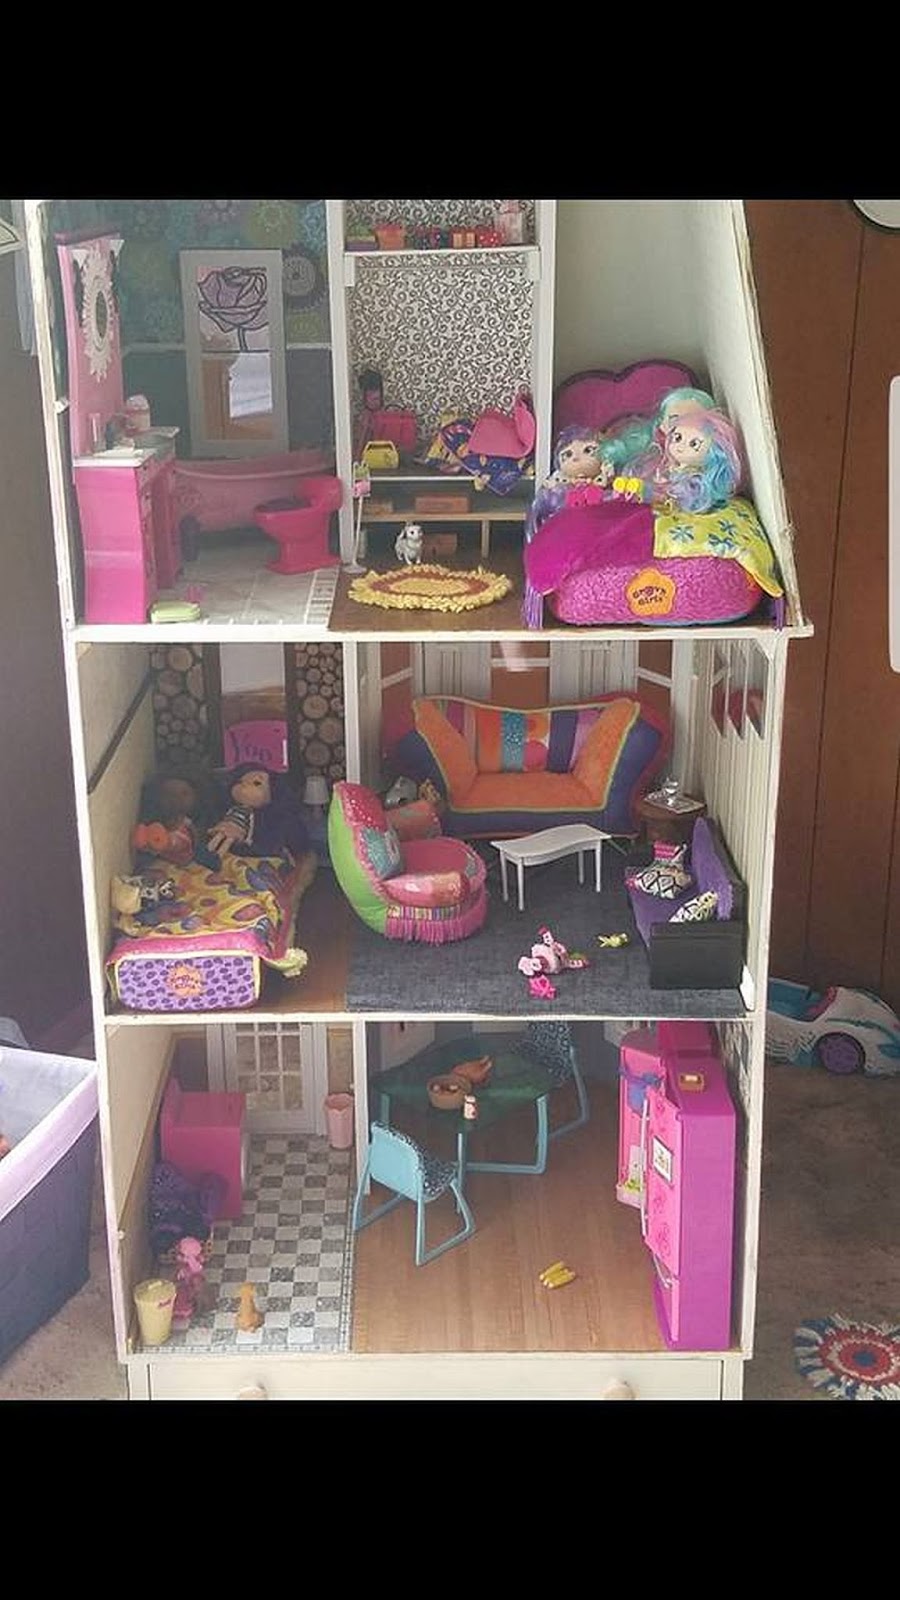
Picture I got from her mom showing the
house set up & furnished.


Wednesday, June 7, 2017

A Rehab Unlike Any I've Done Before


That title sounds pretty dramatic doesn't it?!? It's true though, as I've not really worked in the 1:6 scale before! Must admit, I think it probably would have been easier getting my feet wet in this scale with a new build, as opposed to rehabbing a house that had definitely seen better days... None the less, thought I'd do a quick update as to where I've been and what I've been working on. I only have a few progress pictures for now(still dealing with computer and camera issues) but I have figured out a way to get a few to load at a time.


I've decided for this initial post I'm going to just try to update on one or two rooms, so you're not inundated with lots of pictures. That first picture is very simply a piece of 12" x 12" linoleum I believe that I got in a pack of 10 tiles at a dollar store type of shop. I liked the marble look, and recalled a tip I'd learned way back when of sketching out the lines you want for your grout lines and then using your X-Acto blade to cut along each side of those lines. Once done, you have easy grout lines! This was the first time I'd tried this, and must admit it was a lot easier than I figured it would be. Definitely a trick I'll remember for future use!

I'd like to say the bathroom is completed -- however final trim needs to be installed, as well as main accessory components like the windows and doors to the house, and the floor still needs to be grouted also. Papers were installed, purple to go with the little girls favorite colors. In the above picture I was checking to see if the chair rail trim would work well with that room. You can also see that the bottom paper, a scrapbook paper I got in a lot from Goodwill was still drying. I had to seal it three times to make sure you could get with-in 5 ft. and not have glitter all over! lol None the less, I do like the way it's turning out, and though the purple is a darker color -- the room doesn't seem to be over-powered by it.

My apologies to all, as I'm still having issues getting my pictures to upload and position where I'd like them to -- but at least you all know I'm still alive and mini-ing!